
Not too long ago, I found myself staring at a mess of video files: family birthday clips, work presentations, and a few embarrassing outtakes meant to vanish forever. Editing or converting them felt like prepping for a rocket launch—until I met Wondershare Uniconverter. Today, I’ll share the roller-coaster ride from utter confusion to nearly-professional success (with a few comic blunders along the way).
The (Un)Expected Magic of Video Conversion
Let’s be honest: my first real test with Wondershare Uniconverter was less about “professional editing” and more about survival. I had a 4GB birthday video, a WhatsApp group full of impatient relatives, and zero clue how to shrink that monster down without losing all the fun. If you’ve ever tried sending a large video file, you know the pain. But here’s where the magic of video conversion—and Uniconverter—stepped in.
It started simply enough. You just click Add Files, and suddenly, you can import not just one, but multiple videos at once. No more dragging and dropping files one by one. I watched as my videos lined up in the workspace, ready for their transformation. The next step? Choosing the output format. With over 1,000 supported video conversion formats, Uniconverter is like a Swiss Army knife for video files. MP4, MOV, AVI, MKV—whatever your group chat, client, or device demands, it’s probably there. I remember thinking, “Finally, I won’t panic when someone asks for a .mov at the last minute.”
But the real surprise came when I hit the Convert All button. I braced myself for a long wait—maybe time for a coffee break? Instead, the progress bar zipped across the screen.
‘Conversion was so fast, I actually thought I’d done something wrong at first.’That’s the power of hardware-accelerated conversion. Uniconverter doesn’t just support a huge range of formats; it does the job fast. No more staring at your screen, wondering if you’ll ever see your desktop again.
What I loved most was the flexibility. You can tweak output settings for different devices—say, a crisp HD file for YouTube, or a compressed version for mobile sharing. The interface makes it easy: add your video, pick your format, adjust settings if you want, and click convert. That’s it. Video conversion, once a dreaded chore, became almost… fun?
For anyone who’s ever juggled different devices, platforms, and file types, a reliable video converter is a lifesaver. With Wondershare Uniconverter, I discovered that the unexpected magic isn’t just in what it can do—but how quickly and easily it does it.
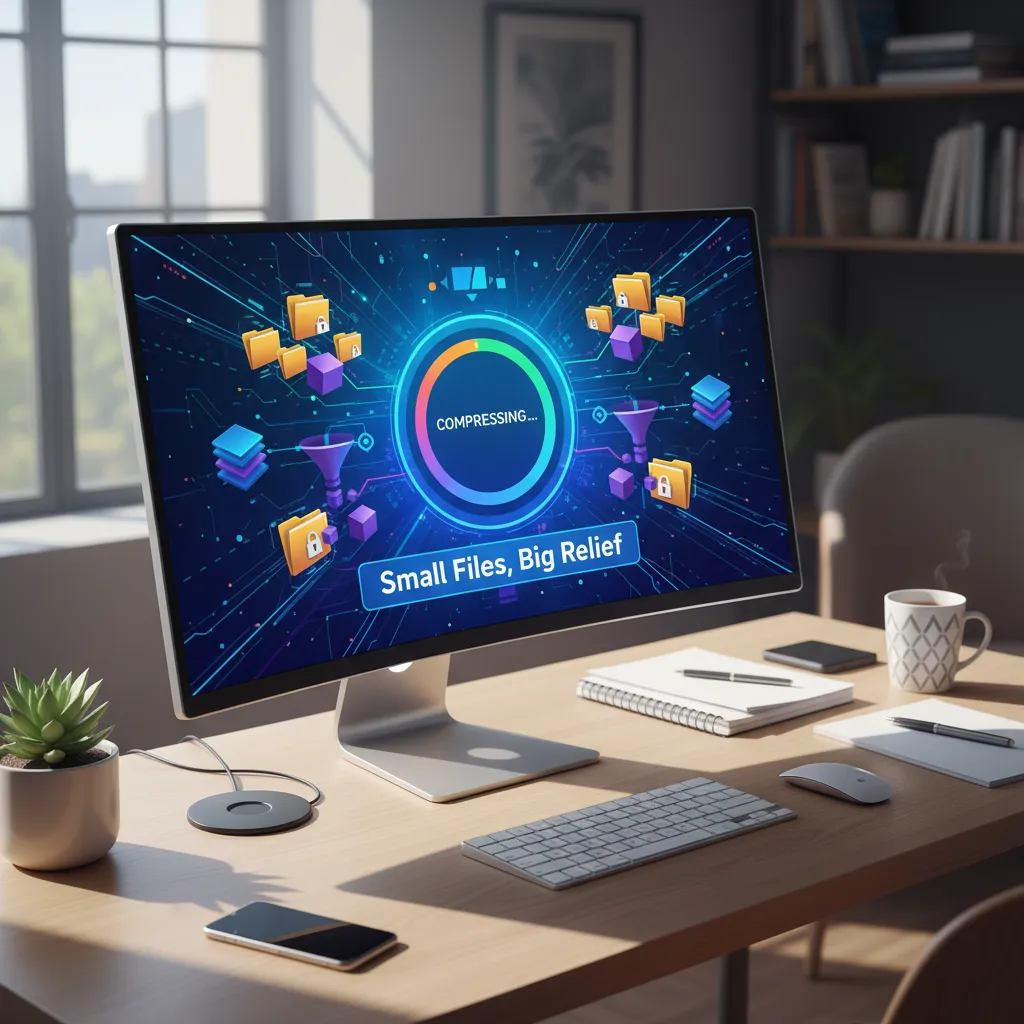
 Compression Tools: Small Files, Big Relief" />
Compression Tools: Small Files, Big Relief
Let’s be honest—when you’re handed a massive family video project (think: hours of footage, everyone from Grandpa to Aunt Ritu), the last thing you want is to end up with a file so huge it needs its own zip code. That’s where Compression Tools in Wondershare Uniconverter swoop in to save the day. My first time using the Convert tab felt like discovering a secret passageway: suddenly, I could shrink my gigabytes without sacrificing anyone’s smile—especially Aunt Ritu’s, which is non-negotiable in our family reels.
Here’s the magic: as soon as you add your video, you’re greeted with a set of Compression Settings—low, medium, or high. It’s a bit like choosing between a gentle hug, a firm handshake, or a full-on bear squeeze for your video files. Not every clip needs the red-carpet treatment, and with these options, you get to decide who gets VIP status and who’s fine with a little more compression.
What truly sets Uniconverter apart is the estimated output size and quality preview. As you toggle between compression levels, you instantly see how your choices affect both the file size and the video quality. No more guessing games or crossing your fingers hoping you didn’t just turn your cousin’s wedding into a pixelated disaster. Instead, you get a real-time preview—so you know exactly what you’re getting before you hit save.
- Low Compression: Keeps quality high, file size bigger—perfect for those irreplaceable moments.
- Medium Compression: A balanced choice for everyday videos—good quality, manageable size.
- High Compression: Squeezes files down for sharing or storage—great for quick clips or when space is tight.
It’s all about maintaining video quality while shrinking file size. I found myself adjusting the settings, watching the preview, and feeling a bit like a magician. As I watched Uniconverter shrink my gigabytes, I couldn’t help but think:
‘Watching Uniconverter shrink my gigabytes felt like watching those vacuum bags on late-night TV—surprisingly satisfying.’
With these Compression Tools and intuitive Compression Settings, you’re in control. You can tailor every project—big or small—without ever worrying about losing those precious smiles or ending up with a blurry mess.
Editing Without Tearing Your Hair Out: Everyday Video Tools
If you’ve ever opened a video editing program and felt your heart race (for all the wrong reasons), you’re not alone. My own journey with Wondershare Uniconverter started with sweaty palms and zero experience. But here’s the secret: the everyday video editing tools inside Uniconverter are designed for people just like us—no film school diploma required, just a bit of patience and curiosity.
Let’s start with the basics. Once you click on the ‘Editor’ tab and add your video file, you’re greeted by a timeline that’s refreshingly simple. The trimming tool is the star here. Want to cut out awkward silences or that moment your cat photobombed your tutorial? Just drag the markers along the timeline to select the start and end points. ‘The timeline trimming tool felt like cutting a cake—satisfying and slightly addictive.’ If only editing my own schedule was this easy.
Next up: cropping. With just a few clicks, you can adjust the frame and remove any unwanted edges—no more distracting background clutter. The crop feature is especially handy for those times when you want to focus on the real action, not your messy living room.
Rotation is just as straightforward. Accidentally filmed your video sideways? No problem. A couple of taps and your footage is upright again, saving you from the embarrassment of sideways storytelling.
But what really adds flair are the effects and filters. Whether you want to brighten up a dull scene or add a vintage vibe, Uniconverter’s collection is surprisingly fun. Even my tech-averse relatives found themselves experimenting—proof that these video editing tools are truly beginner-friendly. Just pick an effect, preview it, and apply. Instant personality boost for your footage.
- Trim: Markers on a timeline make it painless.
- Crop: Focus on what matters, hide the rest.
- Rotate: Fix orientation in seconds.
- Effects & Filters: Personalize your video in a click.
In this Wondershare Uniconverter review, it’s clear: while you won’t find Hollywood-level features, you get a solid balance between simplicity and control. For anyone starting out, these tools are more than enough to make your videos shine—without the urge to pull your hair out.
 Batch Processing & DVD Burner Delights" />
A Dashboard For The Impatient: Batch Processing & DVD Burner Delights
If you’re anything like me, patience isn’t your strongest suit—especially when it comes to video editing tools. The first time you open Wondershare Uniconverter, you’ll spot two features that feel like they were made for people who want results, fast: Batch Processing and the DVD Burner. Let’s just say, both will have you feeling like a pro, even if you’re still learning the ropes.
Batch Processing: Add a Mountain of Files, Hit Convert, Grab Coffee
Ever stared at a folder full of videos and thought, “There’s no way I’m converting these one by one”? With Uniconverter’s Batch Processing, you don’t have to. Just click Add Files, select as many videos as you want (yes, a mountain of them), and watch the software work like a caffeinated squirrel. Choose your output format—MP4, MOV, whatever you need—and hit convert. Suddenly, you’re handling multiple files at once, saving hours of mind-numbing repetition. It’s ideal for anyone who needs to compress or convert a whole series of clips in one go, whether you’re prepping a family archive or a professional presentation.
DVD Burner: Because Grandma Still Wants Physical Copies
Some things never change—like relatives who insist on DVDs. Thankfully, Uniconverter’s DVD Burner makes the process almost enjoyable. Head to the DVD Burner tab, add your video file, and you’re greeted with a buffet of menu templates. Want to give your home movie a blockbuster feel? Pick a template, customize the menu, and even add background music or images. Suddenly, your DVD looks more professional than your local rental shop’s. As I told a friend:
‘I never thought I’d make a DVD menu that looked better than my local rental shop’s—yet here we are.’
It’s oddly satisfying to tweak menus and drop in your favorite song as background audio. The DVD Burner is perfect for anyone who needs to create polished, physical copies—whether it’s for grandma, a client, or just for the nostalgia.
- Batch Processing: Import multiple files, pick your format, and convert or compress with one click.
- DVD Burner: Use built-in templates, customize menus, and add background music for a pro look.
- Ideal for: Professionals, families, and anyone who values their time (and presentation flair).
(Wild Card) Subtitle Options: The Unexpected Hero For Clarity (and Dad Jokes)
Let’s be honest: we’ve all been there—squinting at the screen, trying to decipher what someone just mumbled in a video. Or maybe you’ve got that one uncle whose accent is thicker than your mom’s secret gravy recipe. This is where Wondershare Uniconverter’s Subtitle Options swoop in like an unexpected hero, cape and all.
You might have started your video editing journey thinking subtitles were just for foreign films or big-budget productions. But as you dive into Wondershare Uniconverter, you quickly realize that Subtitle Generation is not only accessible, it’s actually fun. The Subtitle tab is your new best friend, offering both manual entry and the ability to import SRT files. If you’re feeling fancy (or just pressed for time), the automatic subtitle syncing feature lines everything up in a snap—no more endless rewinding to match words with mouths.
What’s even better? Subtitles aren’t just about clarity. They’re about connection. Adding subtitles with Wondershare Uniconverter means your videos are more accessible to everyone—whether it’s your cousin who’s hard of hearing, or a friend who’s watching on mute during a boring Zoom call. And let’s not forget the creative side. With manual editing, you can sneak in a dad joke or two, or drop a secret message for your most observant friends. As the saying goes,
‘Nothing unites family like a good subtitle-based prank.’
The process is refreshingly simple: add or import your subtitles, use the sync feature to match them perfectly with your video, and watch as your content transforms. Suddenly, your home movie or vlog feels polished, professional, and—most importantly—understood by everyone.
So, as you wrap up your editing adventure, don’t overlook the power of subtitles. With Wondershare Uniconverter’s subtitle options, you’re not just clarifying dialogue—you’re opening doors, sharing laughs, and maybe, just maybe, becoming the unexpected hero of your own video story. And if you slip in a dad joke or two? Well, that’s just good editing.


