
Let me take you back to the first time I tried to mimic an earthquake in Premiere Pro—my cat freaked out, my coffee spilled, and for a fleeting, glorious second, my video actually looked pretty cool. That’s the power (and peril) of the camera shake effect, a trick you’ve seen in everything from action blockbusters to wild TikTok transitions. But here’s the honest truth: it’s easy to go wrong, and wildly fun when you get it right. If you’ve ever wondered how to make your videos a little less ‘stiff selfie’ and a lot more ‘living, breathing chaos,’ sit tight. We're about to crank up the motion blur and get jittery with purpose.
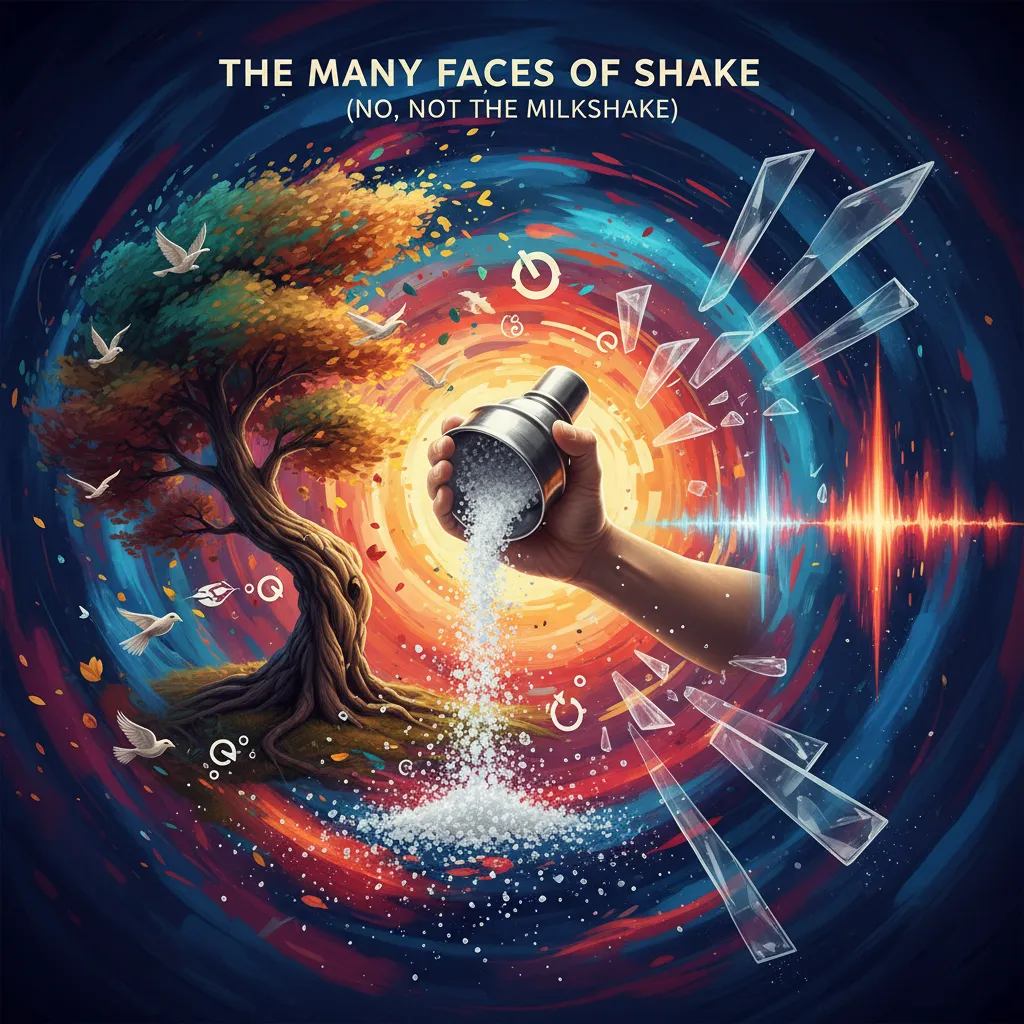
Section 1: The Many Faces of Shake (No, Not the Milkshake)
You’ve seen it everywhere, even if you didn’t know what to call it. That wild, jittery energy in your favorite action scene? The way a social post feels like it’s vibrating with excitement? That’s the shake effect in action. It’s not just a trick for big-budget movies—these days, anyone with a phone or a laptop can master the art of the screen shake effect. But here’s the thing: not all shakes are created equal. There’s a whole world of shake effect techniques out there, and each one brings its own flavor of chaos.
Shake Is Everywhere—And It’s Not Just for Explosions
Think about the last time you watched a blockbuster chase or a viral TikTok transition. If it felt like the screen was jumping, trembling, or splitting apart, you were witnessing the magic of the shake effect. It’s the secret sauce behind everything from heart-pounding action to quirky comedy edits. And it’s not limited to Hollywood: Premiere Pro shake effects, CapCut shake effect presets, and even Filmora’s built-in shakes are making it easy for creators everywhere to add that extra punch.
Meet the Usual Suspects: Platforms That Shake Things Up
Whether you’re editing on your phone or your desktop, there’s a shake effect waiting for you. CapCut and Filmora are favorites for mobile editors, offering easy-to-use shake templates like ripple, jitter blur, tremor strobe, and swing animation. If you’re on desktop, Premiere Pro gives you more control, while After Effects is the king of advanced shake layering. Each platform has its quirks, but all of them let you experiment with different shake effect materials—from subtle tremors to full-on earthquake vibes.
Not All Shakes Are Born Equal: The Techniques That Matter
Here’s where things get interesting. There’s no single “shake effect”—instead, you get a toolkit of effects, each with its own personality. Let’s break down the most popular shake effect techniques you’ll find in Premiere Pro, CapCut, and beyond:
- Tiles: Breaks your image into pieces, then jitters each tile for a fractured, energetic look.
- Turbulent Displace: Warps and distorts the frame, creating a fluid, organic shake that feels almost liquid.
- Wave Warp: Adds a rolling, oscillating motion—think of it as a gentle earthquake or a wavy dream.
- RGB Split: Separates the red, green, and blue channels, then offsets them for a glitchy, digital shake.
- Auto Shake: Lets the software generate shake automatically, perfect for quick edits or when you want a randomized feel.
- Random Jitter: Introduces unpredictable, staccato movements for a nervous, high-energy effect.
- Random Displacement: Moves parts of the image in different directions, creating a chaotic, fragmented shake.
- RGB Motion Blur (Beta): Blurs the color channels as they move, adding a dreamy, smeared look to the shake.
- Motion Blur: Softens the edges of the shake, making everything feel smoother and more cinematic.
- Faster Transition: Speeds up the shake for quick, punchy transitions between scenes or shots.
You don’t have to pick just one. The real magic happens when you mix and match these effects. Maybe you combine a turbulent displace with an RGB split for a digital meltdown, or layer random jitter over motion blur for a more natural, handheld feel. The possibilities are endless—and that’s what makes the shake effect so addictive.
Mobile or Desktop? Both Have Options!
Don’t let your device limit your creativity. CapCut shake effect templates are perfect for quick edits on your phone, while Premiere Pro shake and After Effects let you fine-tune every detail. Even Filmora offers a range of shake presets for beginners. The best part? You can start simple and work your way up to advanced shake layering as your skills grow.
‘Applying shake’ isn’t just a technical step; it’s a form of creative rebellion.
Whether you want to add drama, humor, or pure chaos, the shake effect is your ticket to making videos that feel alive. With so many shake effect techniques and materials at your fingertips, you’re only limited by your imagination—and maybe your caffeine intake.
Section 2: Getting Messy—with Keyframes, Blur, and Human Error
Let’s get one thing straight: the video editing shake effect isn’t about pixel-perfect precision. It’s about channeling that raw, unpredictable energy you get from a handheld camera. If you want your camera shake effect to feel real, you’re going to have to get a little messy—with keyframe animation, motion blur, and, yes, even a bit of human error.
Why Motion Blur Isn’t Optional
Here’s the secret sauce: motion blur. Without it, your shake effect looks like a bad GIF—jumpy, awkward, and totally fake. Real cameras blur when they move, and so should your footage. In Premiere Pro, after you’ve added the Transform effect and started keyframing your shake, always enable or increase motion blur. It’s what separates the pros from the amateurs.
Turn up the blur and watch your shake go from “digital earthquake” to “cinematic chaos.” If you skip this step, you risk your video looking like it’s glitching out. Motion blur isn’t optional for realism—without it, your shakes look like a bad GIF. Turn it up or risk looking amateurish.
Keyframes: The Heartbeat of the Shake Effect Tutorial
Keyframes are your best friend when it comes to keyframe animation for the shake effect. They let you control exactly when and how your footage shakes. Here’s how you do it:
- Apply the
Transformeffect to your clip. - Set keyframes for Position (and sometimes Skew or Rotation for extra flavor).
- Move the playhead a few frames forward and change the values—jitter left, right, up, down, or even diagonally.
- Repeat for as long as you want the shake to last.
Here’s a confession: I once set keyframes for a shake…then copied them twelve more times across the timeline, and it worked! Copying keyframes saves time and keeps your shake rhythm consistent. Don’t be afraid to experiment—sometimes the best shakes come from happy accidents.
Scale: Your Secret Weapon Against Black Edges
Every time your video jitters off-screen, you risk revealing ugly black borders at the edge of the frame. The fix? Adjust the Scale property during shakes. Bump it up just enough to keep those pesky edges hidden. It’s a simple trick, but it makes a world of difference.
Adjust scale to dodge those pesky black edges every time your video jitters off-screen. Pro tip: Overdo it once just to see how wild it gets.
Embracing Human Error: The Art of Imperfection
Perfect shakes are boring. The magic happens when you let a little chaos in. Try making your shakes irregular—some big, some small, some fast, some slow. That’s how you mimic the feel of a real handheld camera. As one editor put it:
Subtle, irregular shakes mimic a handheld camera—intense shakes amp up chaos.
Don’t stress about getting it “right” on the first try. Overdo it once just to see how wild it gets. Then dial it back. Sometimes, the most memorable shake effects come from pushing things too far and then reigning them in.
Step-by-Step Chaos: Applying the Shake
- Set your first keyframe at the start of the shake.
- Move forward a few frames and change the position (and maybe skew or rotation).
- Repeat—make each move a little different for that human touch.
- Copy and paste your keyframes to match the rhythm of your scene—sync to audio beats, explosions, or wild effects for extra punch.
- Increase scale to hide black edges.
- Turn on motion blur and crank it up until it feels right.
Pro Tips for the Ultimate Camera Shake Effect
- Sync shakes to action: Match your shake to gunshots, crashes, or music beats for maximum impact.
- Vary your shake: Don’t just repeat the same pattern—mix up the intensity and direction.
- Save your favorite shakes: Copy keyframes to reuse killer shake sequences across your timeline.
- Embrace mistakes: Sometimes the “wrong” shake is the one that feels most real.
With motion blur, keyframe animation, and a willingness to get messy, your video editing shake will go from stiff to spectacular. Don’t be afraid to experiment—after all, a little human error is what makes it feel alive.
Section 3: Beyond the Basic Shake—Storytelling, Sound, and Where to Find the Good Stuff
You’ve mastered the basics of the shake effect, but now it’s time to go deeper. If you want your edits to stand out, you need to think beyond just making the screen wobble. The real magic happens when you use the shake effect as a tool for storytelling, sync it with sound design, and know where to find the best shake effect materials and editing assets. Let’s dive into how you can take your shake effect game from amateur to unforgettable.
First, ask yourself: Why am I adding a shake here? Every shake needs a reason. Maybe you want to show chaos, ramp up suspense, or add drama to a reveal. The shake effect is powerful, but only when it’s used with intention. If you toss it in everywhere, your audience will quickly get tired—or worse, feel seasick. Professional editors know that less is more. A single, well-timed shake can have more impact than a dozen random ones. So, before you hit that shortcut, pause and think about your story. Is this a moment that needs a jolt? Or would a subtle shake say more?
Now, let’s talk about sound design. Here’s a secret from the pros:
‘Sound design is how you sell a camera shake—even more than the shake itself.’Think about it. When the screen shakes, but there’s no matching sound, it feels flat and fake. But add a deep rumble, a sudden thud, or even a sharp crack, and suddenly your audience feels the impact. The shake effect guide isn’t just about visuals—it’s about creating a full sensory experience. Layer your shakes with carefully chosen sounds. Sync them tightly. When the camera jolts, let the audio hit at the exact same moment. This is how you make your edits feel alive, not just flashy.
Of course, you don’t have to create every shake from scratch. There’s a whole world of shake effect materials and editing assets out there, ready for you to download and use. Maybe you’ve seen those links in YouTube descriptions or heard about Telegram channels packed with overlays and presets. (Yes, I too have clicked on those mysterious Telegram links, hoping to find the good stuff.) These resources can save you hours and open up new creative options. But here’s the key: always preview before you commit. Downloading and auditioning shake effect materials is like trying on clothes before you buy them. Not every asset will fit your project, and some may look great in a demo but clash with your footage. Take a moment to test, tweak, and make sure the shake works with your story and sound.
Finding these assets is easier than ever. Many editing communities share packs on Telegram, Discord, or even right in the YouTube description—just scroll down and look for the first URL. Sometimes, you’ll be directed to a Telegram material channel, where you can browse, preview, and click to download. The process is simple: click the link, preview the shake, and if it fits, add it to your toolkit. This approach keeps your workflow efficient and your creativity flowing. You’re not just collecting effects; you’re building a library of storytelling tools.
But remember, professional results come from respecting the shake effect’s limits. Overuse can turn a powerful moment into a distraction. The best editors use the shake effect sparingly, layering it with sound design for maximum narrative punch. Whether you’re highlighting an explosion, a dramatic twist, or just adding a touch of realism, always keep your audience in mind. Every shake should serve the story.
So, as you finish this shake effect guide, think about your next edit. Will you use the shake for chaos, suspense, or drama? Will you pair it with the perfect sound? And will you take the time to preview and choose the right editing assets? If you do, your videos won’t just shake—they’ll rattle and roll, leaving your viewers wanting more.


