
I’ll be honest: my very first Free Fire edit looked like a toddler gnawed on my footage. But after binge-watching Satvik’s and Tonde Gamer’s electrifying montages—and stumbling through a few meme edits that made my friends laugh for all the wrong reasons—I realized editing is less about fancy software and more about spotting those adrenaline-charged moments nobody else sees. In this post, I’ll walk you through my bumpy (yet weirdly fun) journey of editing Free Fire videos, complete with hard-earned lessons, quirky mishaps, and every trick I wish I’d known before I started. Ready to dive into chaos—and maybe go viral?
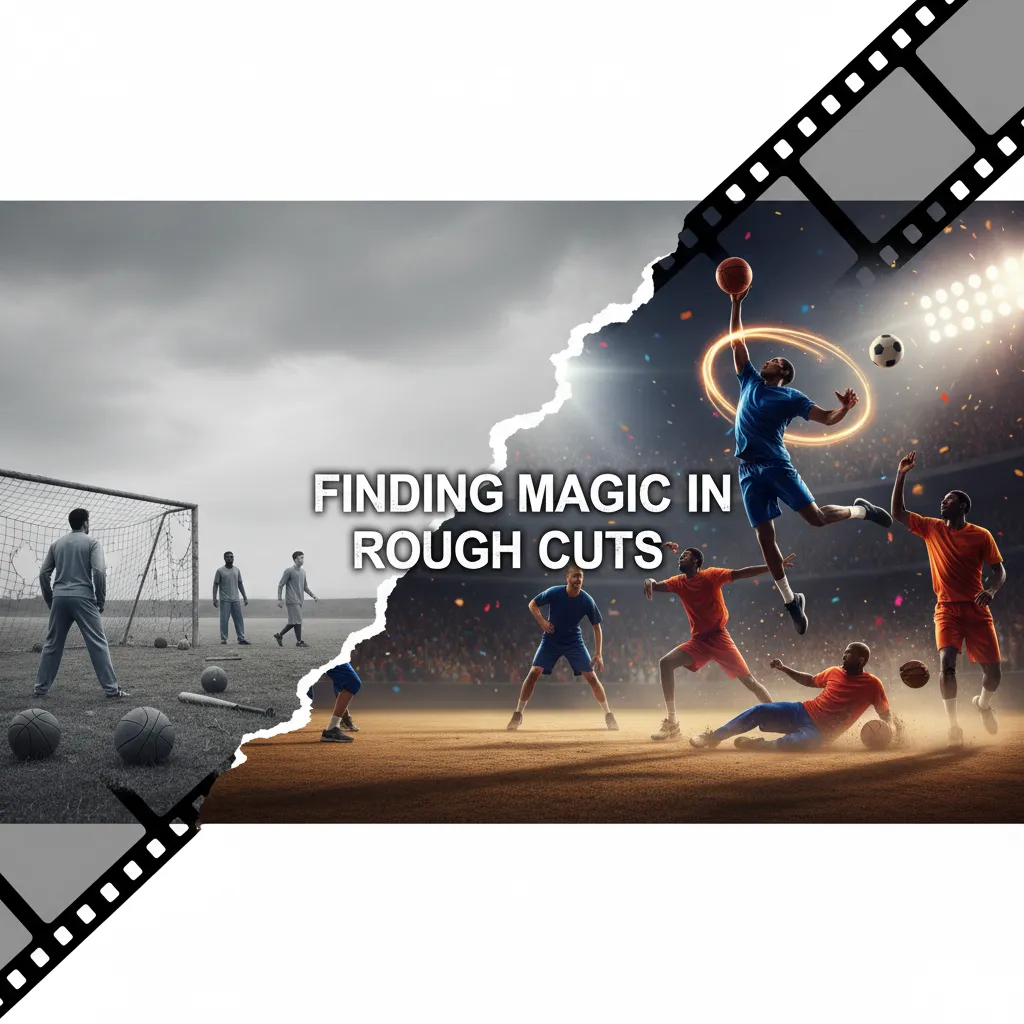
1. From Dull Gameplay to Highlight Reel: Finding Magic in the Rough Cuts
Every Free Fire video starts the same way: with raw, unfiltered gameplay. Maybe it’s a custom match, maybe it’s a ranked grind. The first step? Always record in high quality—HDR is your new best friend. Trust me, nothing ruins a killer one-tap like pixelated footage. Top creators like Satvik and Tonde Gamer swear by crisp visuals, and it’s a best practice for anyone serious about Free Fire video editing.
Once you’ve got your gameplay recorded, it’s time to face the rough cut. Open up CapCut (the go-to for most Free Fire creators) and drop your footage in. Here’s where the magic happens: cut ruthlessly. Watch your gameplay like a viewer, not a player. If a moment feels slow, awkward, or just “almost” exciting—ditch it. Even if you nearly pulled off a clutch, if it doesn’t hit hard, it doesn’t belong. As Satvik’s videos show, aggressive editing keeps viewers glued to the screen.
- Remove filler: Waiting in the lobby? Scrolling through loadouts? Cut it all. Your audience wants action, not downtime.
- Highlight the best: Keep those insane one-taps, 1v4 clutches, and even the meme-worthy fails. Free Fire montage edits thrive on these adrenaline-charged moments.
- Craft your story: Think of your video as a mini-movie. Build tension with close calls, celebrate your victories, and don’t shy away from showing your fails.
Editing tips from Satvik and Tonde Gamer? Focus on wow moments, not perfect play. Satvik’s fast-paced cuts make every second count, while Tonde Gamer mixes in memes and light comedy for extra engagement. Study their videos, and you’ll notice they never let the energy drop—even for a second.
‘I realized editing is less about fancy software and more about spotting those adrenaline-charged moments nobody else sees.’
Here’s a personal tip: Don’t be afraid to keep those messy moments. Once, I edited in a round where my gluwall saves completely backfired. I thought about cutting it, but left it in for laughs—and it ended up being the most commented moment in the video. Sometimes, your fails are just as memorable as your wins.
Most top creators spend weeks refining their best montage videos, but you don’t need a month to spot your highlights. As you scrub through your footage in CapCut, mark every time your heart rate spikes—whether it’s a clutch, a funny glitch, or a ridiculous fail. These are your Free Fire gameplay highlights.
Before you move on to effects or music, make sure your timeline is tight. Remove every second that doesn’t serve your story. If you see a notification pop up or a boring loot run, cut it. The best CapCut video editing techniques are simple: keep it fast, keep it fun, and always put the viewer first.
2. Commentary & Captions: Bringing Your Story to Life (Hindi & English, No Apologies)
Let’s be real: even the most insane Free Fire clutch can feel flat if your video is just silent gameplay. Adding commentary is where your personality shines—and where your viewers stick around for more. Here’s how to nail it, without losing your mind (or your voice).
Try Live Commentary—If You Dare
Feeling bold? Hit record and talk as you play. Live commentary is raw, real, and sometimes hilarious. I once tried this, choked mid-sentence, and left in my awkward laugh. Guess what? That moment doubled my watch time. Adding real, unscripted commentary boosts personality and engagement, even when it flops. If you’re naturally entertaining, your viewers will love the authenticity. But if you’re worried about losing focus or missing those headshots, there’s another way.
Script After Editing for Punchy Lines
If you want every word to land, edit your gameplay first, then write a tight script. Watch your best moments, jot down what you want to say, and record your voice over after. This method gives you clean, punchy lines that match the action perfectly. Voice over editing tips: keep your energy up, match your tone to the gameplay, and don’t be afraid to hype up your own moves. Even if you’re new, scripting helps you sound confident and keeps your commentary engaging.
How to Add Commentary (Live or Scripted):
- Record your gameplay with or without live commentary.
- If live, keep it natural—even awkward moments work!
- If scripted, watch your edited video, write your lines, then record your voice over.
- Sync your audio in your editing software (CapCut is a favorite for Free Fire creators).
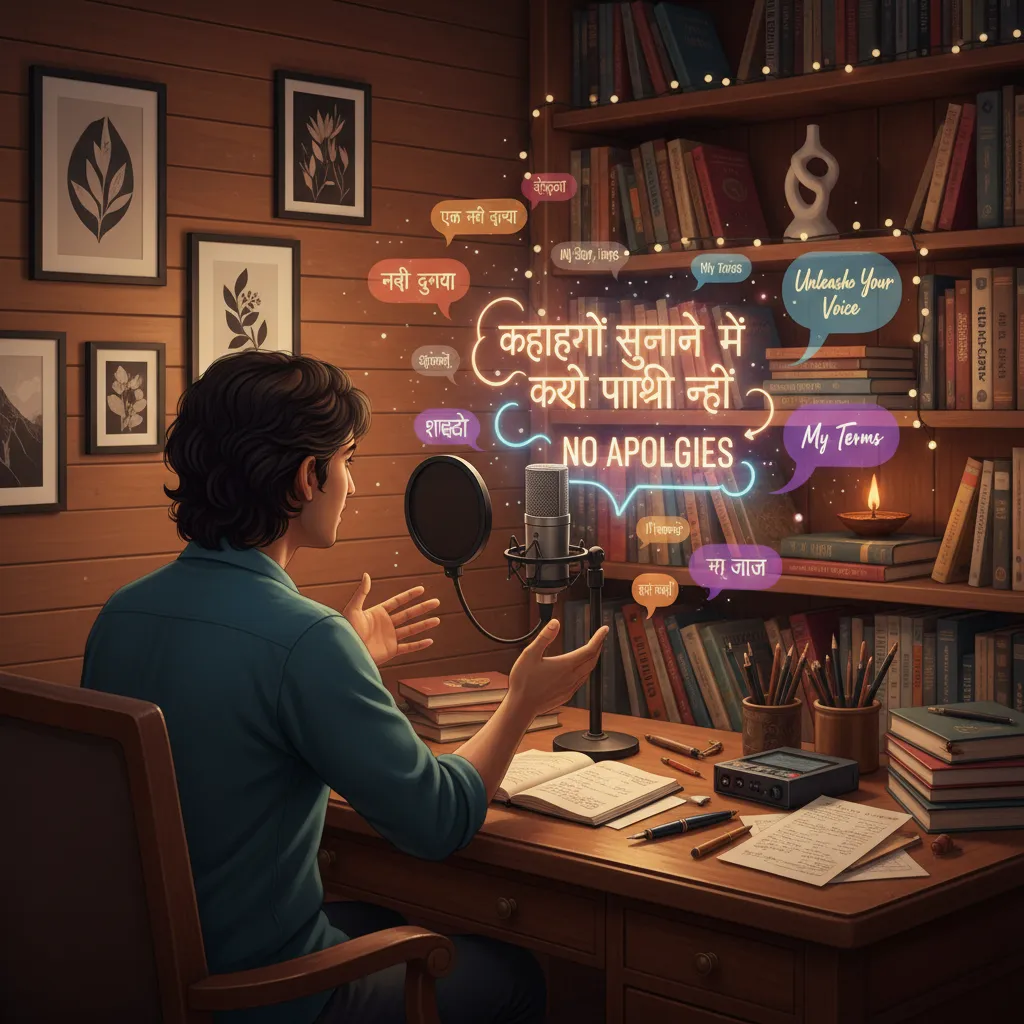
Captions in Hindi and English—No Apologies
Want your videos to reach more people? Captions in Hindi and English are now the standard for Free Fire video editing. Not only do they make your content accessible for everyone—including those watching on mute—but they also add style. Meme-style captions, like you see in Satvik or Tonde Gamer’s videos, are a Free Fire trend you can’t ignore.
‘Add captions in both Hindi and English—your audience will thank you, and you might teach someone a new trash-talk phrase.’
How to Add Bilingual Captions:
- Open your edited video in CapCut or your preferred editor.
- Listen to your commentary and mark where each caption should go.
- Add manual captions: Hindi first, then English, or both together for maximum reach.
- Keep it concise—too many words distract from the gameplay.
Pro tip: Don’t overdo it. Too many captions steal focus from your clutch moments. Find the balance so your captions highlight the action, not cover it up.
Personal Anecdote: Awkward Wins
Once, I left in a fumbled line and my nervous laugh. Instead of skipping, viewers commented and shared the clip. Turns out, authenticity is your secret weapon for creating engaging commentary.
Remember, adding commentary tips and captions in Hindi and English aren’t just about following trends—they’re about making your Free Fire videos accessible, shareable, and unforgettable. No apologies, just your story, your way.
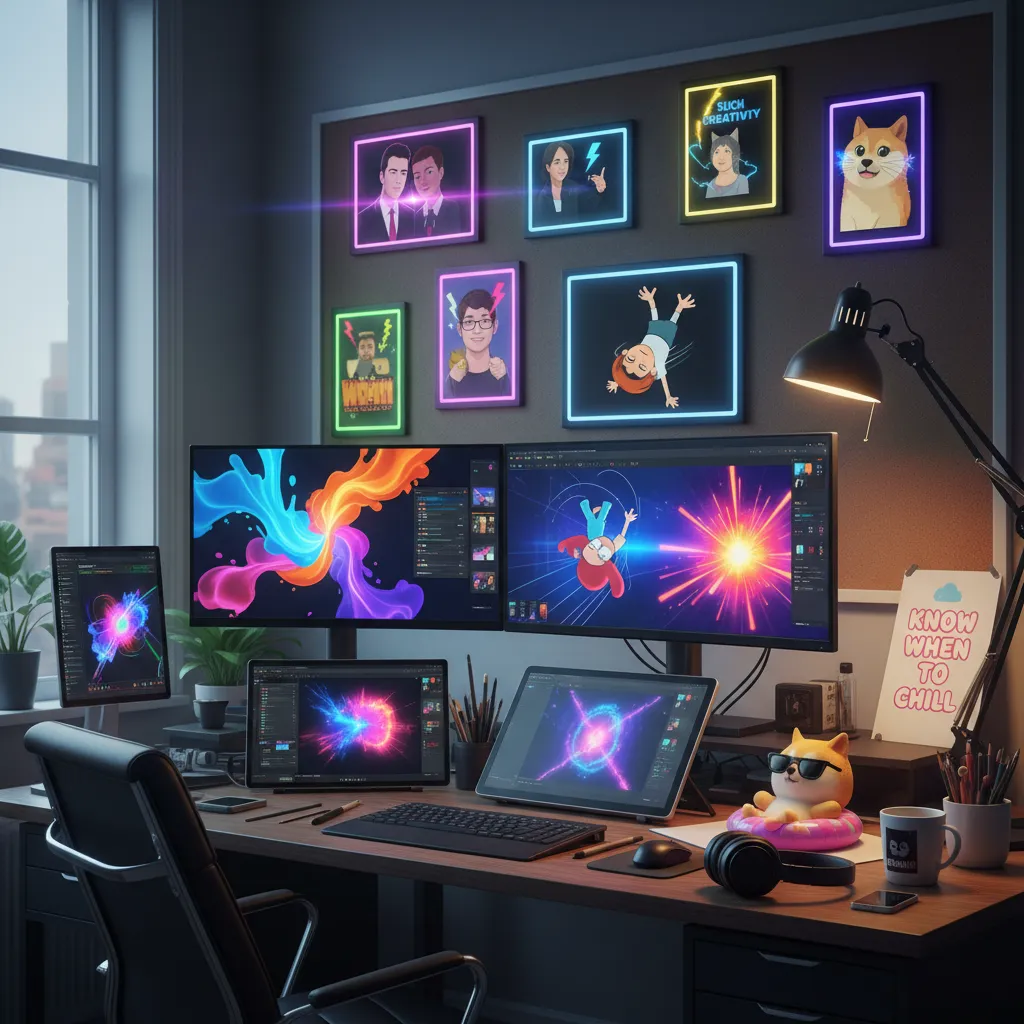
3. Effects, Animation & Meme Magic: When to Go All Out (and When to Chill)
If you want your Free Fire videos to stand out, you need more than just clean cuts and basic trims. The real magic happens when you master video editing techniques like animation effects, meme overlays, and those viral transitions that make viewers hit replay. But here’s the secret: knowing when to go wild—and when to keep it chill—is what separates pro editors from the rest.
CapCut for Basics, Alight Motion for Insane Effects
Let’s be real: CapCut editing features are perfect for quick, core edits—think trimming, adding text, or simple transitions. But when you want to drop jaws with advanced animation effects, Alight Motion is your playground. This app unlocks pro-level effects like the Fracture Warp Effect, animated PNG highlights, and meme edits that top YouTubers like Satvik and Tonde Gamer use in their Free Fire montages.
- Fracture Warp Effect Tutorial: This is the go-to for those epic “one-tap headshot” moments. In Alight Motion, start with a 16:9 project, extract your best shot, and layer a rectangle shape over it. Add the Fracture Warp effect, tweak the parallax and detail, then animate the magnitude from high to zero for that punchy impact. Don’t forget to layer on Chromatic Aberration and Raster Transition for extra energy. Double up the layer, play with color and blending, and finish with a fade for a cinematic feel.
- Animated PNG Gun Highlights: Want to showcase a weapon switch or highlight a clutch play? Download a PNG of your gun, clean up the background, and drop it into Alight Motion. Animate its entrance with slide transitions, add a glowing effect, and sync it with the action. Use a black circle and Gaussian blur behind the gun for depth. Simple, but so effective.
- Map Animation Edits: For those moments when you want to highlight a spot on the map, grab an HD map image, use null objects to zoom and point, draw a red shape, and animate its progress. Add strokes and blend modes for that pro finish. This is a favorite among creators for storytelling and strategy breakdowns.
Meme Edits: Go Viral or Go Home
Let’s talk meme edits in Free Fire videos. Troll faces, skull overlays, and “fail” animations are pure engagement gold. Top editors steal these ideas from viral videos, but here’s the trick:
‘Steal like an artist from top editors—but always remix with your own inside jokes or local memes.’
Maybe you add a troll face when you miss a shot, or a skull overlay for a savage headshot. Use PNGs, black-and-white filters, and shake effects (which you can find on Telegram channels) to make your meme moments pop. The best meme edits are quick, funny, and perfectly timed with the action.
Sync to the Beat: Music & Editing Flow
Never underestimate the power of music. Syncing your edits to the beat—especially those headshots or hilarious fails—can turn a good montage into a viral one. Mark the beat drops in your timeline and match your best moments to them. Sometimes, even accidental sound effects (like my sister dropping a glass mid-edit) can become your most popular meme transition!
Remember, the top animation effects tutorials always say: use effects to support your story, not distract from it. Go all out for your highlights, but let quieter moments breathe. That’s how you keep viewers hooked—without losing your mind.
4. Wild Card: That Time I Tried to Copy Satvik’s Ending (and Totally Failed)
Let’s be honest: if you’re deep into Free Fire montage edits, you’ve probably watched Satvik or Tonde Gamer and thought, “I want my videos to look just like that.” Their outros are legendary—smooth, glowy, and timed perfectly with the action. So, one night, you decide to level up your editing game. You scrub back and forth through Satvik’s outro, studying every second. You’re determined: this time, your video will end with that same epic punch.
Here’s how it goes down. You line up your clips, add your favorite kill highlight, and then try to nail that signature fade-out. You throw in a glowy effect, maybe a little slow-motion, and just as you hit export, you realize—your timing is off. The music cuts out too soon, your character is still awkwardly jumping around, and instead of a slick transition, there’s a weird half-second where nothing happens. Export time? Over an hour. You sit there, watching the progress bar crawl, hoping the final result will somehow look better than the preview.
But when you play it back, it’s… hilariously bad. The glowy outro you wanted? More like a blinding flash. The smooth fade? It’s a janky stutter. Instead of Satvik’s pro finish, you’ve got a meme-worthy ending. And yet, when you show your friends, they love it. They start joking about your “signature” outro. Suddenly, your failed attempt becomes a running gag—everyone waits for that awkward fade-out, and it’s the thing they remember most about your videos.
This is where the real editing tips from Satvik and Tonde Gamer come in—not just the technical stuff, but the attitude. The magic isn’t in the effect itself; it’s in your willingness to try, stumble, and learn. Top YouTubers don’t just copy each other’s styles—they remix, experiment, and let their own quirks shine through. Your Free Fire montage edits don’t have to be perfect. In fact, it’s the little mistakes, the offbeat timing, or that accidental voice whispering “gg” as the screen goes dark that make your videos memorable.
So, here’s the truth: copying someone’s glowy outro might lead to a hilariously awkward fade-out, but that’s okay. The best editing tutorial for beginners to pro isn’t just about mastering effects—it’s about finding your own voice, even if it means failing spectacularly at first. As you keep experimenting, you’ll discover that originality and personal quirks are what truly set your editing style apart. Export times might be grueling (trust me, some of my edits took over an hour just to process), but those accidental fails and original outros are the moments your viewers will remember and share.
‘Let imperfections shine—these become your brand.’
So next time you try to copy a top creator’s ending and totally fail, don’t stress. Laugh it off, own it, and maybe even make it your signature move. After all, the real pros aren’t afraid to let their personality—and their imperfections—take center stage.


