You remember the first time you built a PC and thought a big fan would solve everything? Fast forward: you’ve learned that radiator thickness, fan static pressure, and VRM cooling actually matter. In my last upgrade I swapped an aftermarket tower for the Arctic Liquid Freezer III Pro 360 and—spoiler—your CPU will thank you. This outline helps you tell that story clearly, with data, hands-on notes, and a few tangents you’ll actually enjoy.
Why This AIO Might Be Your Best Value Buy
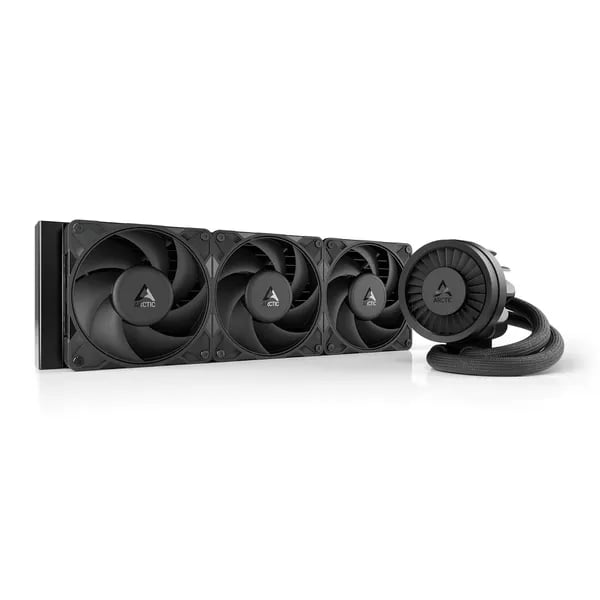
Arctic Liquid Freezer value: real hardware at a Budget Price
When you shop AIOs, the price jump from “good” to “great” is usually big. That’s why the Arctic Liquid Freezer III Pro 360 stands out: it’s often listed around $89.99 (down from $124.99), and early UK pricing has commonly landed around £93–£125. For that money, you’re not getting a stripped-down cooler—you’re getting parts that look like they belong in a higher tier.
A thick 38mm Radiator that punches above its class
The headline feature is the 38mm Radiator. It’s thicker than many standard 27mm designs, and the increased fin density helps it move heat more efficiently—especially when your CPU boosts hard in games or heavy work. The result is simple: you can often run lower fan speeds for the same temps, which helps keep your build quiet.
P12 Pro Fans: high airflow when you need it
ARCTIC pairs that radiator with 3 × P12 Pro Fans (120 mm), rated up to 3000 RPM and about 77 CFM each. That’s serious airflow and pressure for a cooler in this price range. You can keep a calm fan curve for daily use, then let it ramp only when you’re stress testing or rendering.
Liam Harper, Thermal Engineer: "For the price, the Freezer III Pro 360 packs features you'd only expect in far costlier AIOs — thick rad, high static pressure fans, and smart VRM cooling."
Install it once: 5–6 years expected life + 6-year warranty
This is a closed-loop, maintenance-free AIO with an expected 5–6 year lifespan and a 6-year warranty. In other words, you can mount it, set your PWM curve, and stop thinking about cooling for a long time.
Practical extras you actually use
- MX-6 thermal paste included, so you don’t need a separate tube on day one.
- Integrated cable management and pre-wired PWM routing for a cleaner, faster install.
- No RGB by default: clean all-black look (or choose the ARGB version if you want lighting).
Thermal Performance & Noise — The Real-World Numbers
Thermal Performance: what you’ll actually see
In day-to-day use, the Arctic Liquid Freezer III Pro 360 tends to land in a very comfortable range: idle CPU temps around 32–35°C and gaming temps typically between 50–55°C. If you’re coming from a solid air cooler, that’s often a ~15°C drop in real builds—especially on modern Intel chips that love to boost hard.
The hardware explains the results. The 38 mm radiator (thicker than many 27 mm AIOs) plus increased fin density gives you more surface area to dump heat. Pair that with the P12 Pro Fans pushing 77 CFM and 6.9 mmH2O static pressure (ARCTIC claims 67% faster than their older 120 mm designs), and you get strong cooling even when the radiator is working against restrictive case airflow.
Noise Output: quiet… until you let it rip
At sensible speeds, the cooler is easy to live with. Under noise-normalized testing, some labs show the Pro beating close rivals by 10–13°C on tougher CPUs. But if you run the fans at the full 3000 RPM, Noise Output can jump—reports note it can be up to ~11.7 dB louder than quieter baseline units. That’s not a flaw so much as a reminder: 3000 RPM is “maximum cooling,” not “daily driver.”
Maya Chen, Hardware Reviewer: "In daily gaming and content creation workloads the Liquid Freezer III Pro 360 shaves meaningful degrees off CPU temps while remaining impressively quiet if you dial in the curves."
Control & tuning for Overclocking Performance
You can run the pump, VRM fan, and radiator fans together or separately via the single PWM setup, which makes tuning simple. Teardown notes commonly cite pump ~2800 RPM and the small VRM fan at ~2500 RPM. For the best balance of temps and acoustics—especially if you care about Overclocking Performance—use a custom curve so the fans don’t slam to max during short boosts.
- Quiet gaming curve: cap radiator fans around 1200–1600 RPM until ~70°C.
- Heavy load curve: ramp harder after ~75°C to protect boost clocks.
| Metric | Real-world number |
|---|---|
| Idle temps | 32–35°C |
| Gaming temps | 50–55°C |
| Thermal advantage (select tests) | Up to 13°C |
| Fan top speed | 3000 RPM |
Installation, Compatibility and Tiny Headaches
Before You Buy: Clearance Comes First (63 mm)
The Arctic Liquid Freezer III Pro 360 looks “normal” in photos, but it’s a chunky AIO in real life. You’re working with a 38 mm radiator plus a 120 mm fan stack, so you need about 63 mm clearance where you plan to mount it. In many mid-towers, that can be the difference between a clean top mount and a frustrating clash with RAM heatsinks, motherboard VRM shrouds, or the case frame.
Do a quick tape-measure check for both top and front mounting. If your top mount is tight, front mounting often gives you more breathing room—just watch GPU length and tube routing.
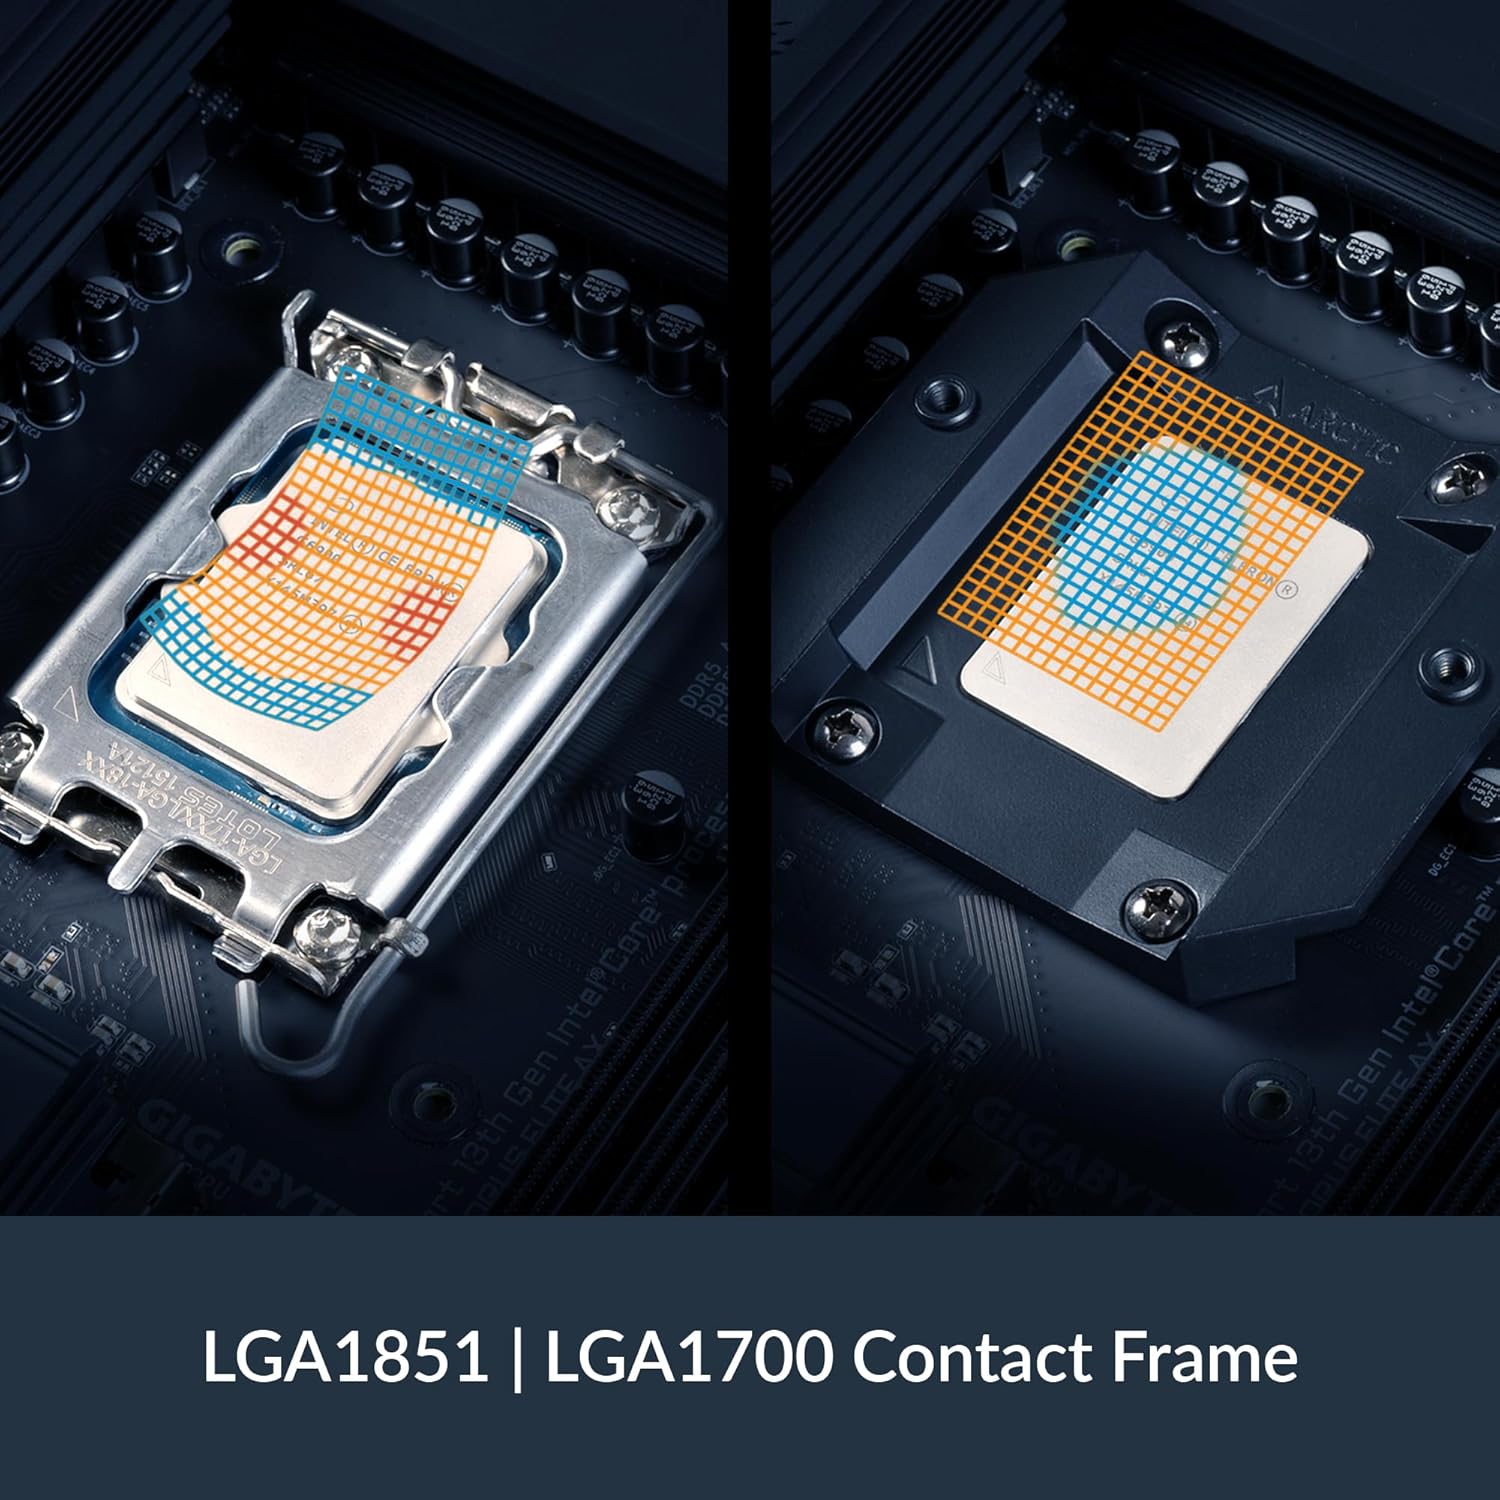
Socket Compatibility: Intel LGA1700 and AMD AM5 Done Right
On paper, Socket Compatibility is broad: Intel LGA1851/1700 and AMD AM5/AM4. In practice, the Pro version is the one you want if you’re building on newer Intel platforms, because it improves mounting/contact for Intel sockets and helps you land better pressure where it matters.
That said, keep an eye on socket-specific notes—some builders mention the Intel 285k as a bit quirky, where you may need to slow down, re-check standoffs, and confirm even pressure before you fully tighten.
Installation Guide: Pre-Wired Cables, Animated Help, and MX-6
This is one of the more approachable AIO installs because the fans come pre-installed and the PWM wiring is largely pre-routed. That makes Cable Management simpler: you can run a single PWM lead to your CPU_FAN/AIO header, or split control if you prefer.
- Test-fit radiator + fans first (confirm the 63 mm space).
- Apply ARCTIC MX-6 using a cross-pattern for best contact.
- Tighten the block evenly in a cross pattern—don’t crank one corner down first.
If you’re unsure, ARCTIC’s animated steps are genuinely useful.
The Tiny Headaches (Mostly Case Fit)
Tight cases can turn a “15-minute install” into a small project. Some users call out fiddly clearance in builds like the Corsair 5000D, where you may need patience to align screws and avoid pinching tubes.
Ravi Patel, Systems Integrator: "If you're careful with clearance and follow the animated guide, installation should be painless — but don’t be surprised if tight cases need extra patience."
How It Compares — Competitors, Air Coolers & Niche Options
Cooler Review: Freezer III Pro 360 vs Lian Li GA Trinity Performance 360
If you’re shopping for the Best AIO on Amazon, the Lian Li GA Trinity Performance 360 is a common alternative—but the Arctic Liquid Freezer III Pro 360 often feels more “engineered for results.” With its thicker 38 mm radiator, hotspot-focused cold plate, and the small VRM fan in the pump block, you’re getting practical features that aim straight at Thermal Performance, not just looks. Many users upgrading from other AIOs report lower temps and a calmer sound profile—especially when you don’t push aggressive fan curves.
It also keeps your build cleaner: no default RGB, fewer cables to manage, and a stealthy all-black finish (an ARGB variant exists if you want lighting).
Air Cooler Matchup: DeepCool AK620 vs 360 mm AIO
The DeepCool AK620 is a strong air cooler, and it’s often the “safe pick” for reliability. But if you’re chasing a noticeable drop in gaming and load temps, the Freezer III Pro 360 can deliver a bigger step up—reviews commonly mention ~15°C improvements versus air cooling. You also avoid the bulky tower clearance issues around RAM and motherboard heatsinks, though you do need case space for a 360 mm radiator (about 63 mm clearance).
ARGB Review & Budget Price Alternatives
Other options each fit a different priority—lighting, brand preference, or the lowest upfront cost:
| Option | Price | Best for |
|---|---|---|
| ARCTIC Liquid Freezer III Pro 360 | $89.99 | Value + quiet-focused performance |
| CORSAIR Nautilus 360 RS ARGB | $109.99 | ARGB + Corsair ecosystem |
| be quiet! Pure Loop 3 LX 360 mm | $109.90 | Brand preference + polished acoustics |
| darkFlash DH360D V1.2 | $70.90 | Lowest Budget Price entry to 360 AIOs |
| Black Shark FunCooler 5 | $26.59 | Phone/tablet cooling (not PC CPUs) |
Elena Novak, PC Enthusiast Writer: "If you prize function over bling, the Freezer III Pro 360 is a clever purchase — it focuses on what actually matters for thermals and long-term reliability."
In simple terms: if you want long-term value, spending $80–$90 here can beat cycling through louder fans or replacing cheaper AIOs that don’t hold up as well.
Wild Cards: Analogies, Hypothetical Upgrades, and Tiny Tangents
Swiss Army Knife Energy: VRM Cooling + Cold Plate Smarts
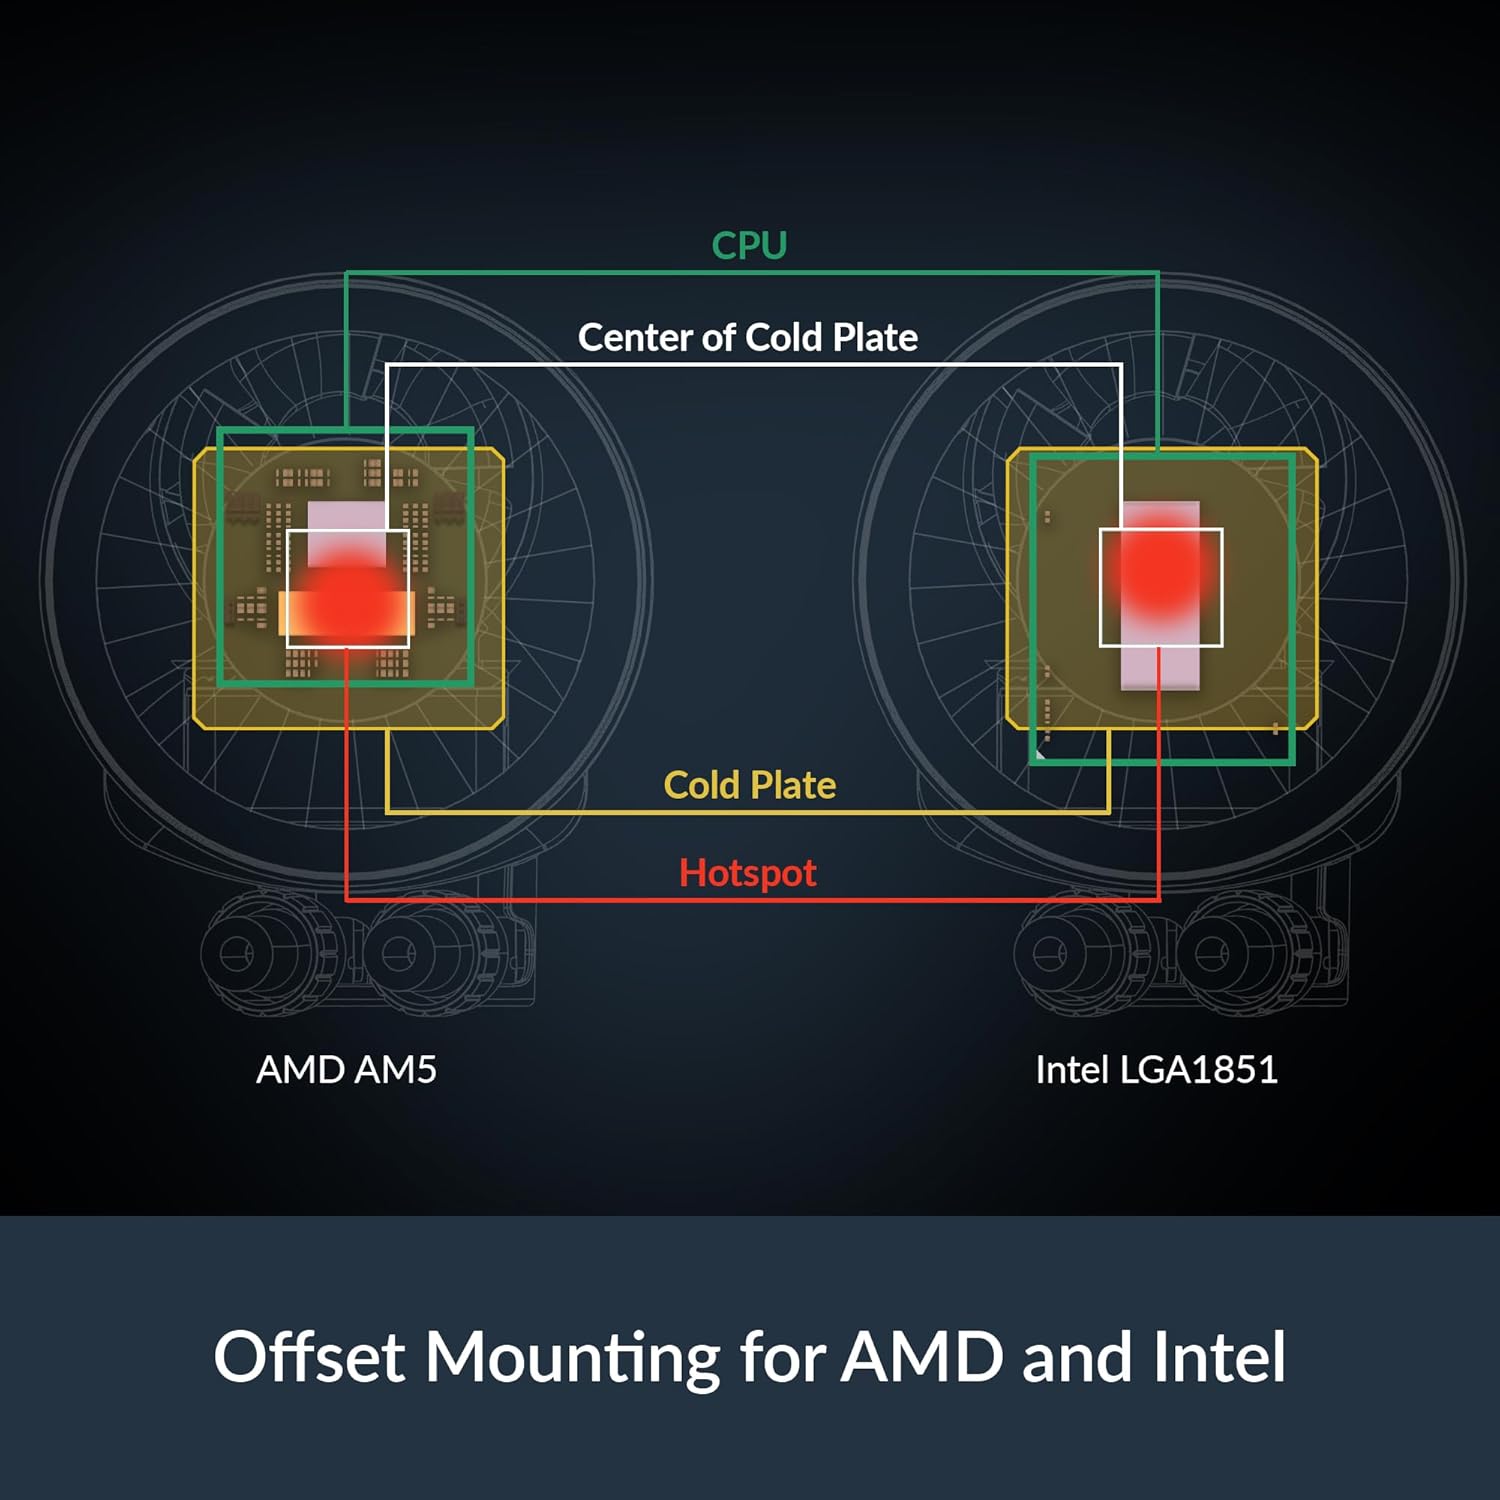
Think of the Arctic Liquid Freezer III Pro 360 as the Swiss Army knife of 360mm AIOs—solid tools, no glitter, and a tiny screwdriver you didn’t know you needed. That “tiny screwdriver” is the dedicated 60 mm VRM fan, quietly handling VRM Cooling so your motherboard’s voltage regulators don’t cook while your CPU stays comfy. The other clever tool is the offset, decentralized Cold Plate, designed to sit right over the CPU hotspot for better heat transfer, instead of pretending every chip warms up evenly.
Hypothetical Upgrade: Overclocking Performance Without the Drama
Say you’re coming from a high-end tower cooler and you decide to chase Overclocking Performance on a 14th-gen Intel chip. In that scenario, the Freezer III Pro 360 is the kind of upgrade that can feel immediate: many 2025 user reports land around a ~15°C drop in gaming or heavy loads, and lab-style comparisons sometimes show up to ~13°C better results versus certain rivals. With the 38 mm radiator and P12 PRO fans capable of 3,000 RPM, it can even nip at the heels of some bigger 420mm units—if you don’t let it run wild at full speed.
Tiny Tangent: A Gentle Fan Curve Saves Your Ears
The secret is your Fan Curve. You want the cooler’s headroom, not the jet-engine impression. A simple approach: keep PWM low at idle (where many people see 32–35°C), then ramp smoothly only when you actually need it.
0–40°C: 25% PWM
40–70°C: 45% PWM
70–85°C: 70% PWM
85°C+: 100% PWM (emergency)
Carlos Mendes, Overclocking Coach: "Tune the fan curves and you'll be rewarded with the best of both worlds: near-silent idle and competitive thermals under load."
One Last Aside: Silence Regained (and Ryzen Performance Still Matters)
In one build, swapping from a tower cooler dropped motherboard temps enough that I finally stopped my case fans from ramping—silence regained. And while Ryzen Performance can be a little noisier on some top-end chips if you push hard, the same rule applies: tune the curve, let the cold plate do its job, and you’ll end up with quiet power that feels “set it and forget it” for years.


